Planter Box
The kids loved planting beans a few weeks ago, we got a lot started in some planter trays. Unfortunately their time in the trays is coming to an end, so they needed somewhere better to go. New planter box to the rescue!
I didn't use any plans for this one, just grabbed some cedar from the big box store and made it up as I went along.
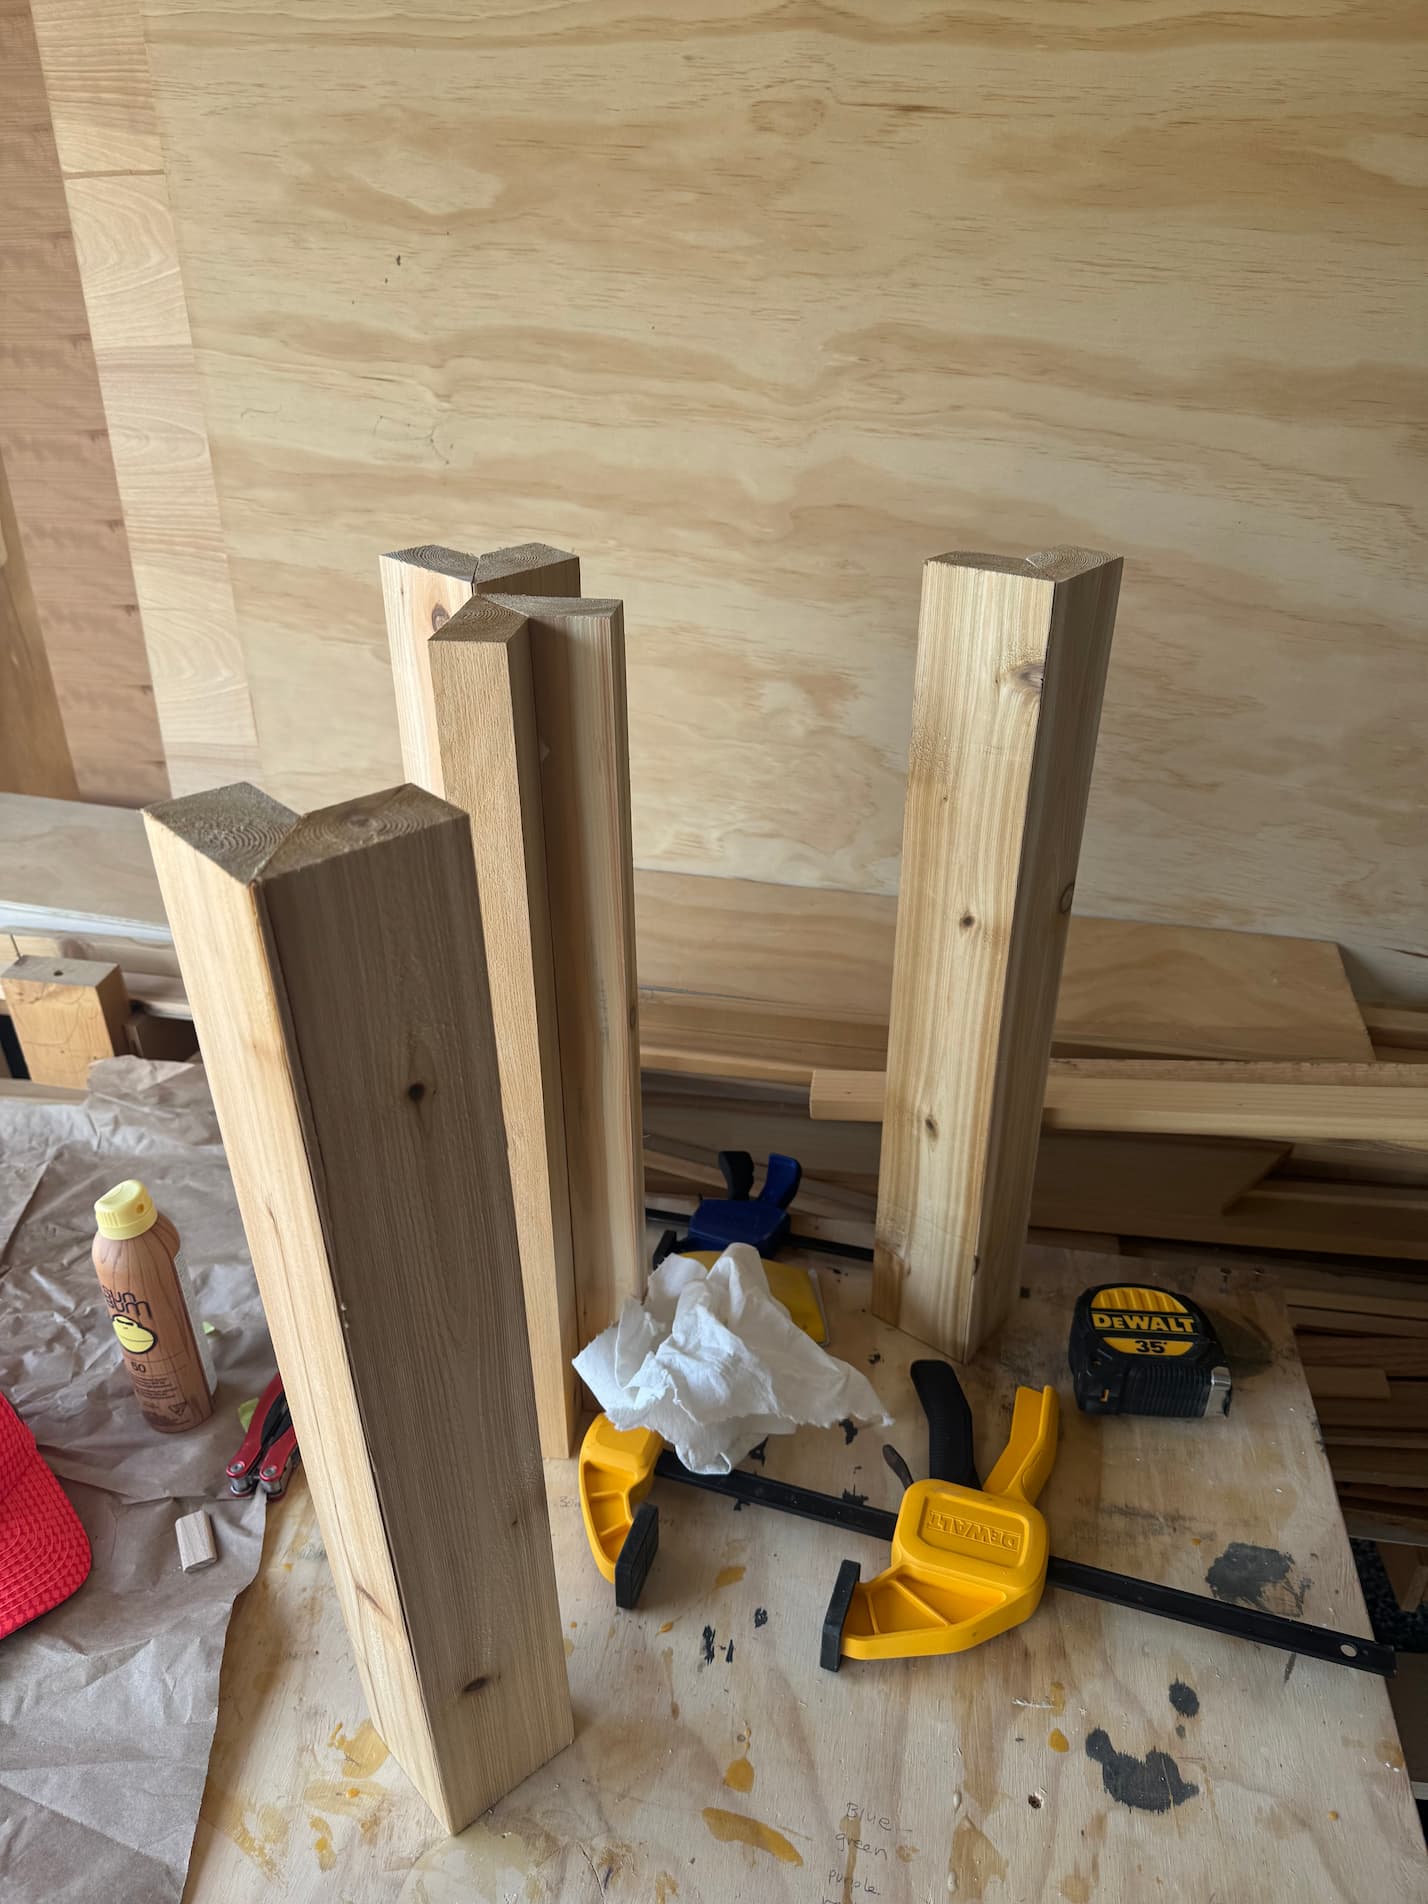
I went with mitered corners (the wood stained black in the photo) but put a couple of dominos on the joint for strength. Big box store lumber, the stuff marked for decks specifically is never square. Once the glue was dry I used some India Ink to stain the vertical posts black.
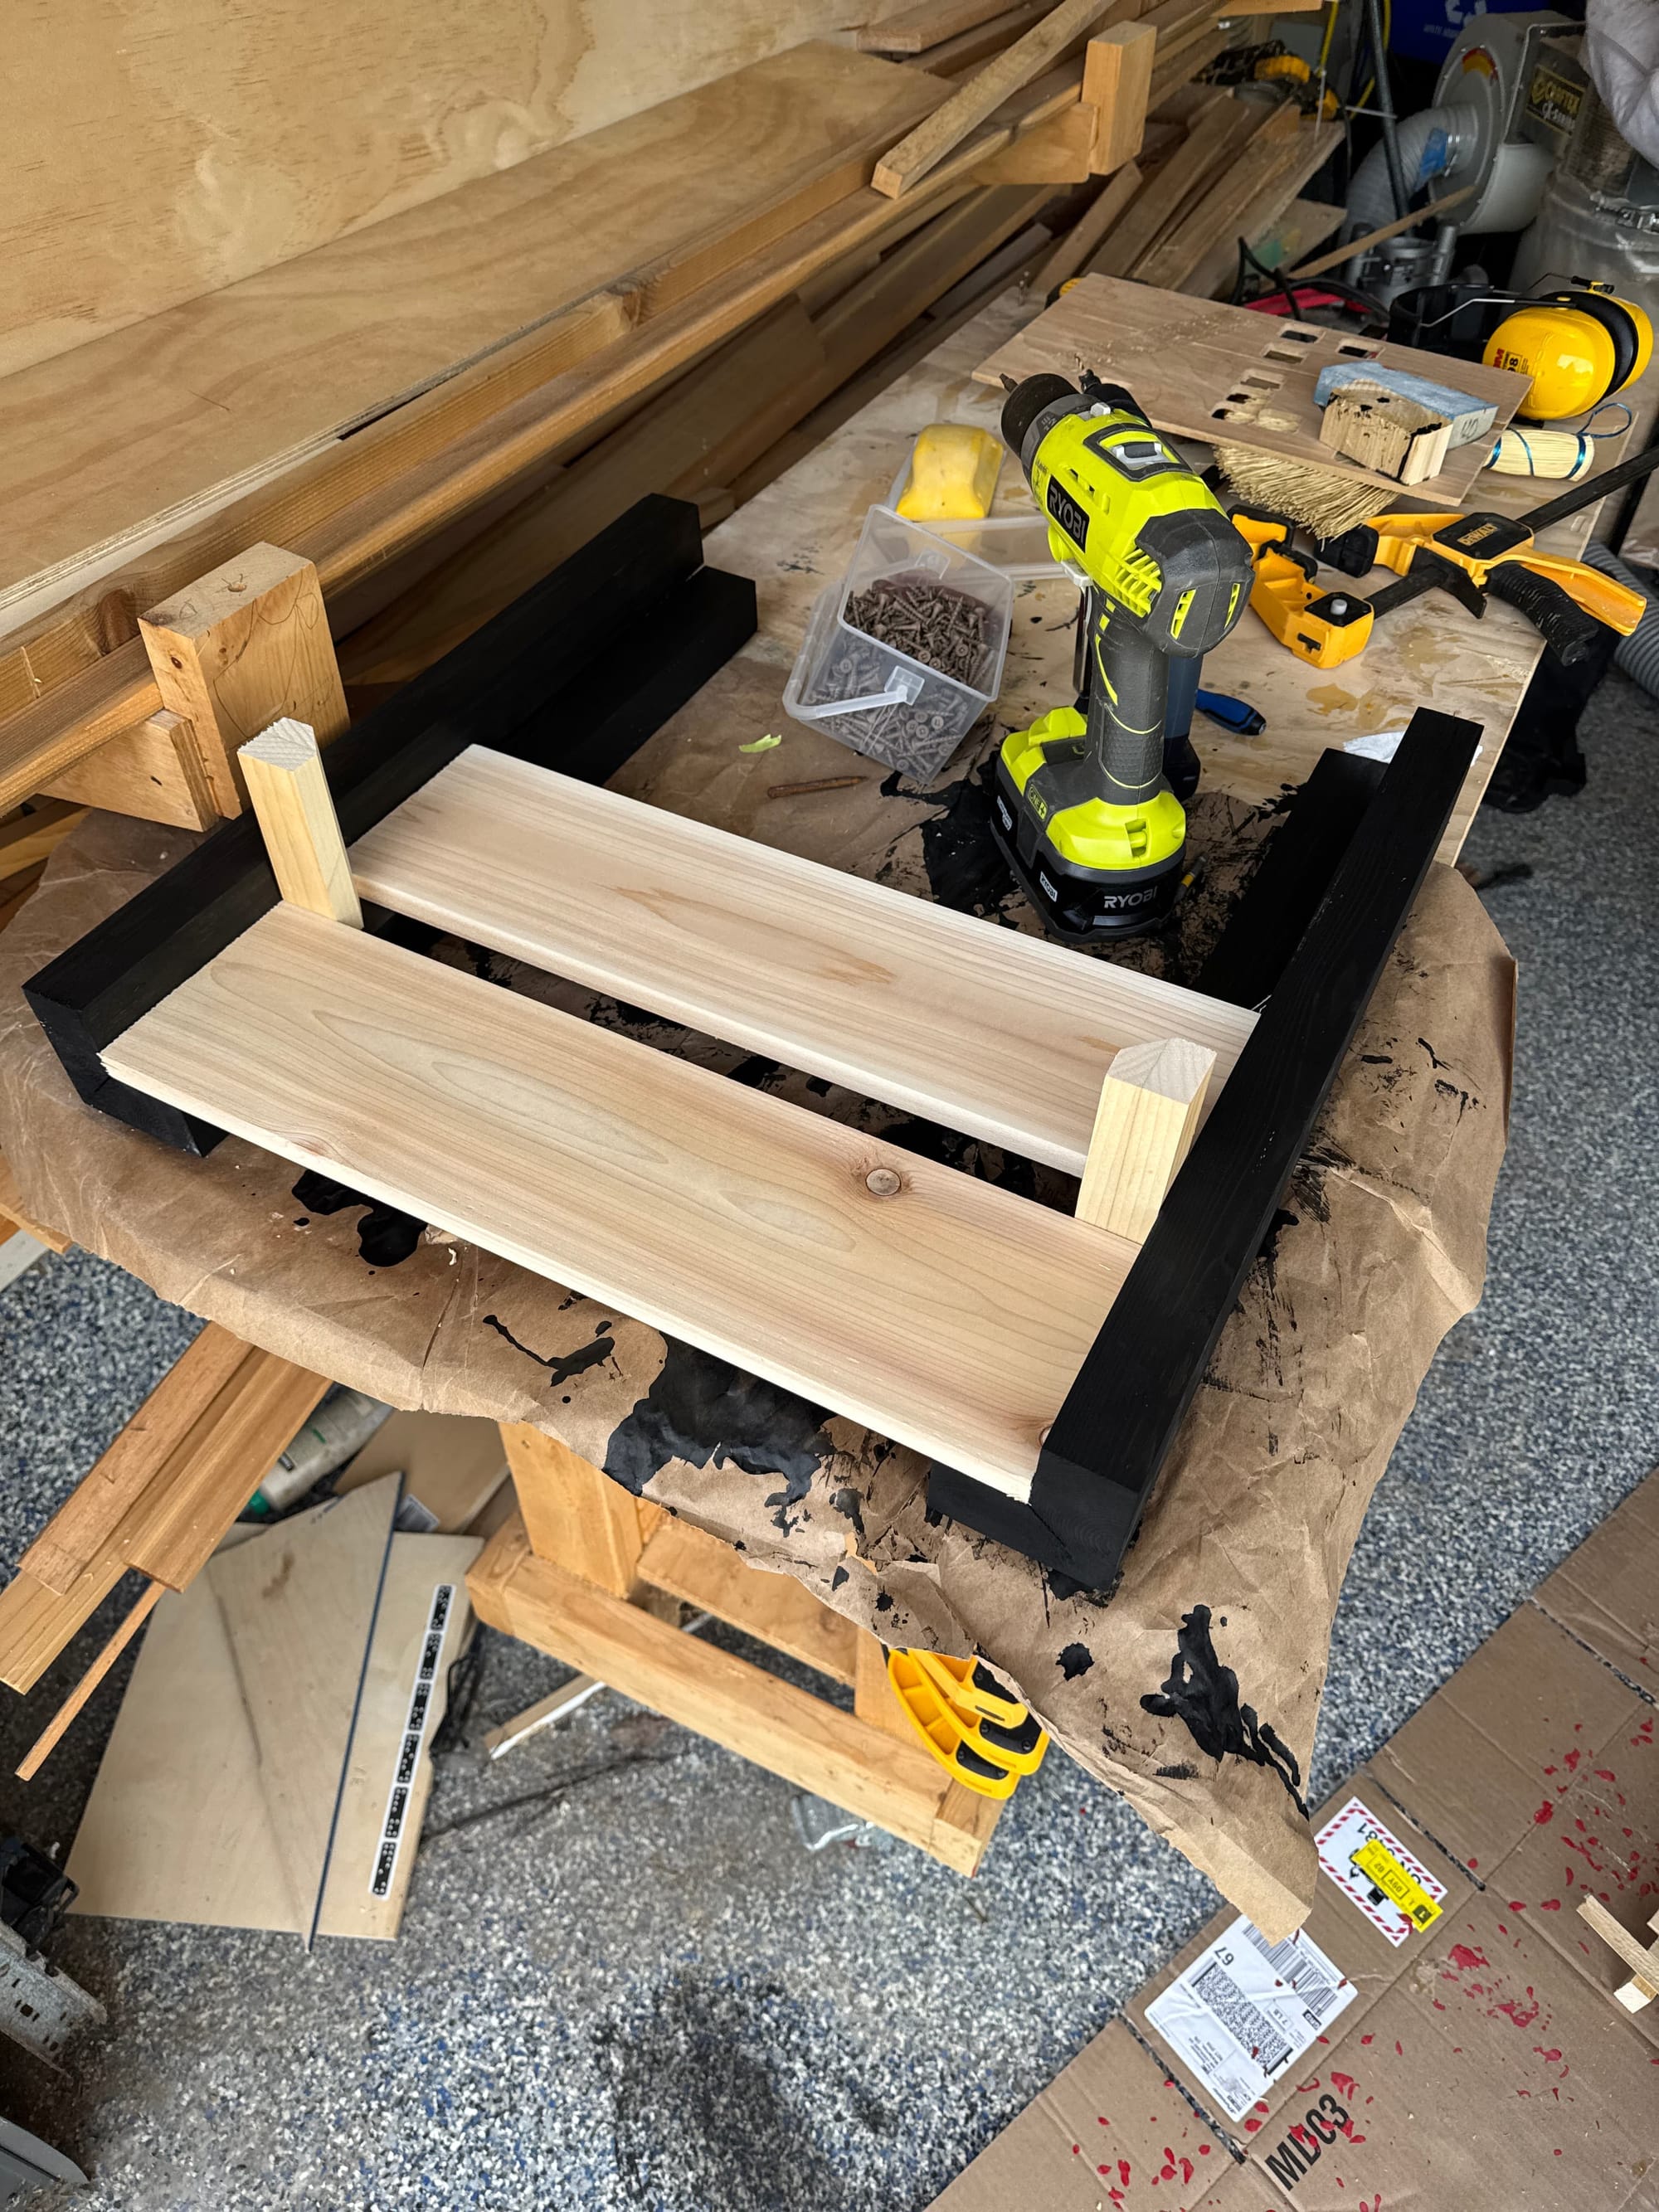
The most important part of any project is selecting the random scrap of wood to be used as a spacing guide. For the vertical slats I went with some off cuts from a replacement table leg I made a while back.
We wanted the bottom slats a bit closer together, so I used a scrap picture frame. The phrase "Scrap picture frame" seems unique, but I've made quite a few. Mostly using stuff I've learned from Steve Ramsey and Michael Alm.
Having one power tool pre-drilling and countersinking holes, while the other is set up to drive the screws in is a delight. Using the very light and nimble festool drill was a delight compared to the much heavier ryobi one.

There was a slight measurement mistake when assembling the bottom tray that will hold the weight of the soil. So we had to shim the piece slightly.
We used landscape fabric on the interior to hold the dirt in (hopefully). Mostly stapled in place, with a couple of small scraps of wood providing more surface area to hold the fabric in place near the edges.
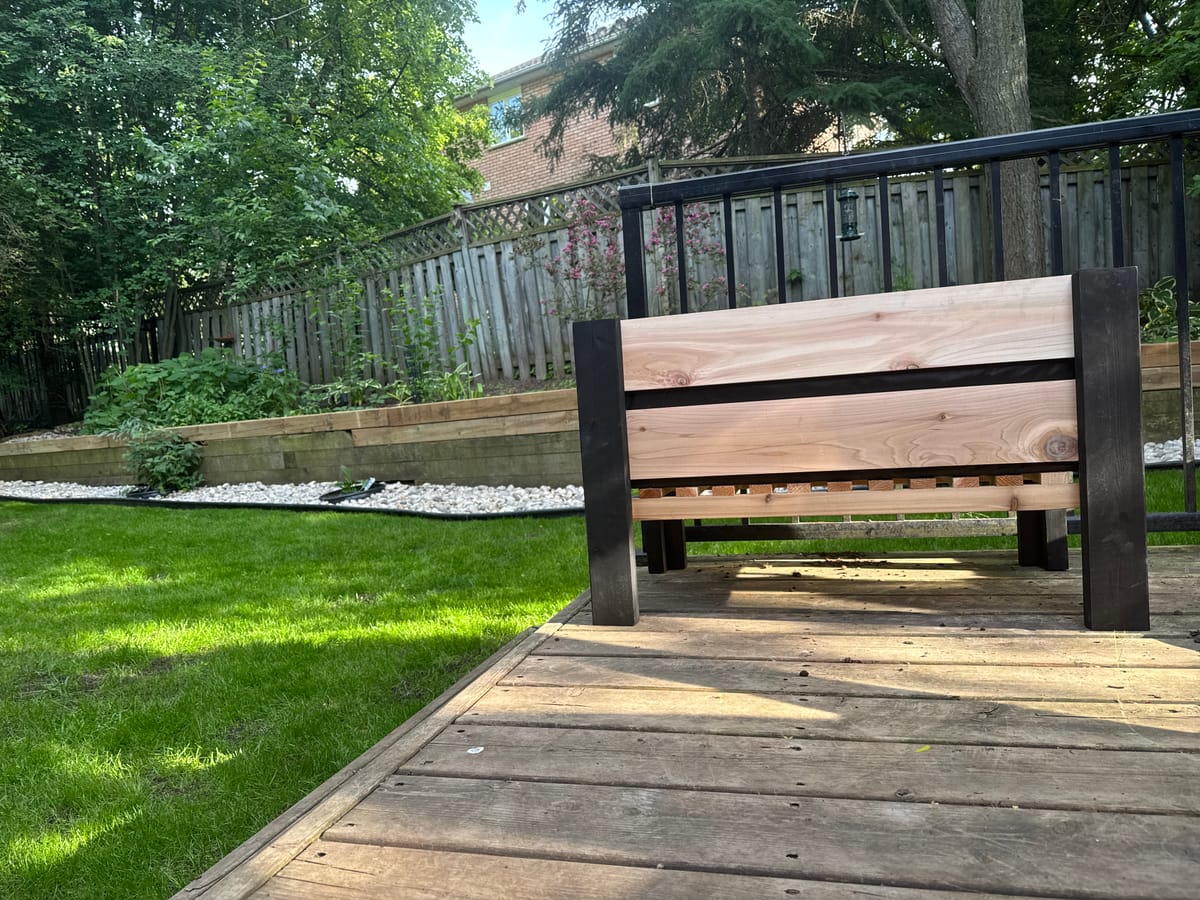
I love how it looks. I think the black vertical supports contrast the natural cedar really well, and match very well with the dirt in the box. It's also a good match for a stand I made for our pizza oven a few summers back.
